Showing posts with label paper crafts. Show all posts

Wednesday, May 4, 2011

Day 88

I was playing around online earlier and just happened onto this craft, totally by accident, and I just knew I had to do it because I needed something funny and cute and really meaningless.  Fun was the order of the day.

If you have ever visited the website "I Can Has Cheezburger" you know where this craft came from.  Someone turned Ceiling Cat into a paper craft, and if I knew where they lived, I would hug them.  The site for this template can be found HERE.

Basically what I did is printed the template out on white card stock, cut the cat head out and the ceiling square, used a bone folder to go over all the folding lines, folded everything and taped (not glued, since I was having a heck of a time with the glue) all the folds down to form the cat.  Then I used white craft glue to stick the cat head to the ceiling hole.  And then I adored it lovingly! 

Here is what it looks like when I finished...(I can't put it on the ceiling until the glue dries and don't think I'm not going to, because it's too cute not to stick it up there!):


Here is ceiling cat and ceiling panel all printed and cut out on white card stock :


Used bone folder to get all the creases:


Taped the cat head:


And glued the head to the ceiling tile:

Sunday, May 1, 2011

Day 85

I was out all day with mom and just as we were heading home I started feeling a bit queasy, I laid down hoping it would go away but it hasn't so when it came time to do a craft, I really wasn't feeling up to doing something in depth.  Since I enjoy doing origami, and since it's usually a pretty easy craft, I decided to do the "Sailboat Note".  After you do all the folds, the closure, or buckle, is a sailboat.  The other side has a space for an address, or a name, or something else creative that I can't think of at the moment! 

Here is the finished Sailboat Note:


Here is the paper I used:


This is about half way through the folding:


And here is another finished photo:


Here is the other side:

Wednesday, April 6, 2011

Day 60

I have this book called "Fabulous Folds For Card Making" and in it is a variation of this card.  Pretty much the same, except the size is a bit different and I used different paper and embellishments then what the book suggested.  This card is good for really any "female" whether friend or family.  It would be good for a birthday, Mother's Day, or just because! 

First I cut down a piece of card stock and drew in an angle about an inch and cut that off:


I took a piece of scrapbook paper and used it for the front of the purse:


After some more cutting and folding, I added a band of yellow card stock on the top fold of the purse with some designs punched out so the purple would show through.  I then added two pink fasteners with some ribbon for the handle:


Here it is all done!:


And inside, tons of room to write lots of lovely things:

Monday, April 4, 2011

Day 58

I had the day from HECK!  Yes!!  HEEECKKK!  ugh  Work just threw me for a loop so when it came time to do my craft I decided to do the Origami Stationery because it's easy and fun. 

Tonight I did the Parallel-O-Gram note and with the design of the paper it had a really cool effect.  I really like the way it came out.

Paper before folding:


About halfway through the folding process:


All done!:


Another after picture:

Friday, March 25, 2011

Day 48

So I was thinking all day that I just wanted to come home, do a simple craft and relax.  My first thought...bookmark.  I realized today that I had contact paper for a wedding craft I had planned and could use it as a laminate.  I mention all this to Stan and he helps me find a bookmark template online to make it even easier, just need to insert a photo and quote.  BONUS!  I tell him I want a picture of a moon, and he starts searching while I go to my trusty book of quotes to find something relevant.  I figure this will be done in no time...

Not so much...

Stan finds a nice picture, I find a good quote, we insert, print...and realize I had regular paper in the printer, so we print again, on white card stock.  Alright, no big deal.  I pull out my paper cutter, and the stupid thing is of course not cutting straight, so I try to fix it with regular scissors and I'm not straight.  I have a minor temper tantrum and have Stan trim for me.  Okay, I'm alright now, so I get out the hole punch and punch the hole at the top of the bookmark for the fringe string I want to add.  Low and behold I'm too close to the top, and end up splitting the hole open at the tippy top!  O..M..G...I fall to the ground and start slamming my head against the floor.  (Don't worry, we have carpet!)  I beg Stan to go downstairs and pop open a bottle of wine while I try to now cover the bookmark in contact paper to salvage the hole for the string.  I'm starting to hate bookmarks.  Alright, contact paper....I've never used it before, I cut a nice big square, put the bookmark face down close to the left side and fold the right side over to sandwich the bookmark.  Guess what??  I'm not straight, so the contact paper buckles and sticks...I toss the bookmark across the desk, and start swearing like a sailor.  Stan comes with wine...after a long silent gulp...yes, I admit it, a gulp...I feel better.  Stan takes over and trims it up for me.  Wine slowly goes through my body, I'm now feeling better.  I get the string and start stringing it through the now complete hole and can't get the knot to tie.  I keep trying while silently laughing manically in my head.  After about 5 attempts, I get it, I cut trim, I'm DONE!!!!

YAY!!!

And then I try to take pictures....sigh...our cat Cody decides he needs to help....sigh....I send Stan down for another glass of wine....here are the pictures..../headdesk

Bookmark with Cody trying to get the camera strap:


Close up or bookmark:


Another closeup and Cody:


Cody willing to rip my face off for the camera strap:

Tuesday, March 22, 2011

Day 45

When I got home from work tonight one of the first things Stan said was "I have a craft you can do tonight!".  And my first thought was "YAY!!!" because I wasn't too sure what I was going to do!  

His computer came with a bunch of craft software and he was checking it out today.  There was a template for a photo cube, you just add your pictures, print it out, cut it, score the folding lines, fold and glue!  That's it!  It was easy and fun and now I have an adorable photo cube of the 6 loves of my life to adorn my desk at work!!!

Printed on card stock:


All cut out and ready to be scored, folded and glued:


Folded, a little flimsy looking but it's holding up well:


Top view:


Another side view:

Monday, February 28, 2011

Day 23

Today's craft I got from the book "The Big-Ass Book of Crafts".  Yes, that really is the name of the book.  One of the reasons I got it!  The crafts in the book are great, but pretty involved and in need of many supplies I never have.  I decided to flip through once more, since I usually do it quickly and forget what's in there.  I saw the "CD jewel case notebook" and decided to give it a go. 

I realize I already did a notebook (the tea box notebook - Day 12) but this one is a different concept, and hey, you can never have enough paper notebooks around! 

First I took a CD case, took out all the stuff inside (the cover, black cd holder and the back cover) then I cut 10 sheets of regular copy paper to 10" x 4.5" and folded it in half.  I then cut a piece of decorative scrapbook paper to the same size and glued it to the first white paper.  I cut another piece of paper 2" x 4.5" for the spine and glued that on to the bigger sheet.  I stuffed it all into the CD case and then put in a pencil (that I had to sharpen, and sharpen, and sharpen...until it was the right size!) and closed it all up nicely!   

The finished CD jewel case notebook closed:


Close up of finished CD jewel case notebook closed:


The case open:


The back of the case open (sorry about the reflection):

Sunday, February 27, 2011

Day 22

I think it's no secret that I love Stan.  I think he's just the cutest, most lovable, most wonderful man I have ever met.  I think since we have been together for 7 years now, sometimes we get complacent in showing our love for each other.  Because of this, I decided to make him something that will remind him daily, even hourly that I love him so very much.

I had a matchbox laying around and saw an ornament craft in one of my books, so that's where I got the idea.  I have always loved miniature crafts, but never really do them because of my sausage fingers!  I end up getting in my own way and it causes me to just have a temper tantrum and abandon the thing I'm working on...forever! 

I pulled out some leftover stickers from Valentines Day, some paint, card stock, a heart punch and the glue and set to work.  I cut purple card stock and glued it on all the sides inside the matchbox.  While that was drying I cut a window into the matchbox sleeve and painted (or tried to paint) it pink.  The paint wasn't thick enough to cover the design on the matchbox, so you can see that it came from a steakhouse.  (I'll go back to that in a minute!)  I took the 3D stickers, added pop dots to the back so they would be even more 3D and put those inside the matchbox.  I then cut out hearts with a punch and glued those to the sides of the matchbox sleeve.  I added some more 3D hearts to the back of the sleeve, so all the sides would have some pizazz!  Then I poked two holes in the top of the matchbox and threaded some 24 gauge wire and formed a heart, sort of like a little handle. 

When I presented it to Stan, I'm happy to report he didn't think I was corny and he loved it.  When I pointed out that you can see the word steakhouse on the cover, he said "well when I look at it, it will remind me how much I love you and steakhouses!"  :)  I love him. 

This is the full front view all completed:


This is the sleeve and matchbox, can be taken out to see details:


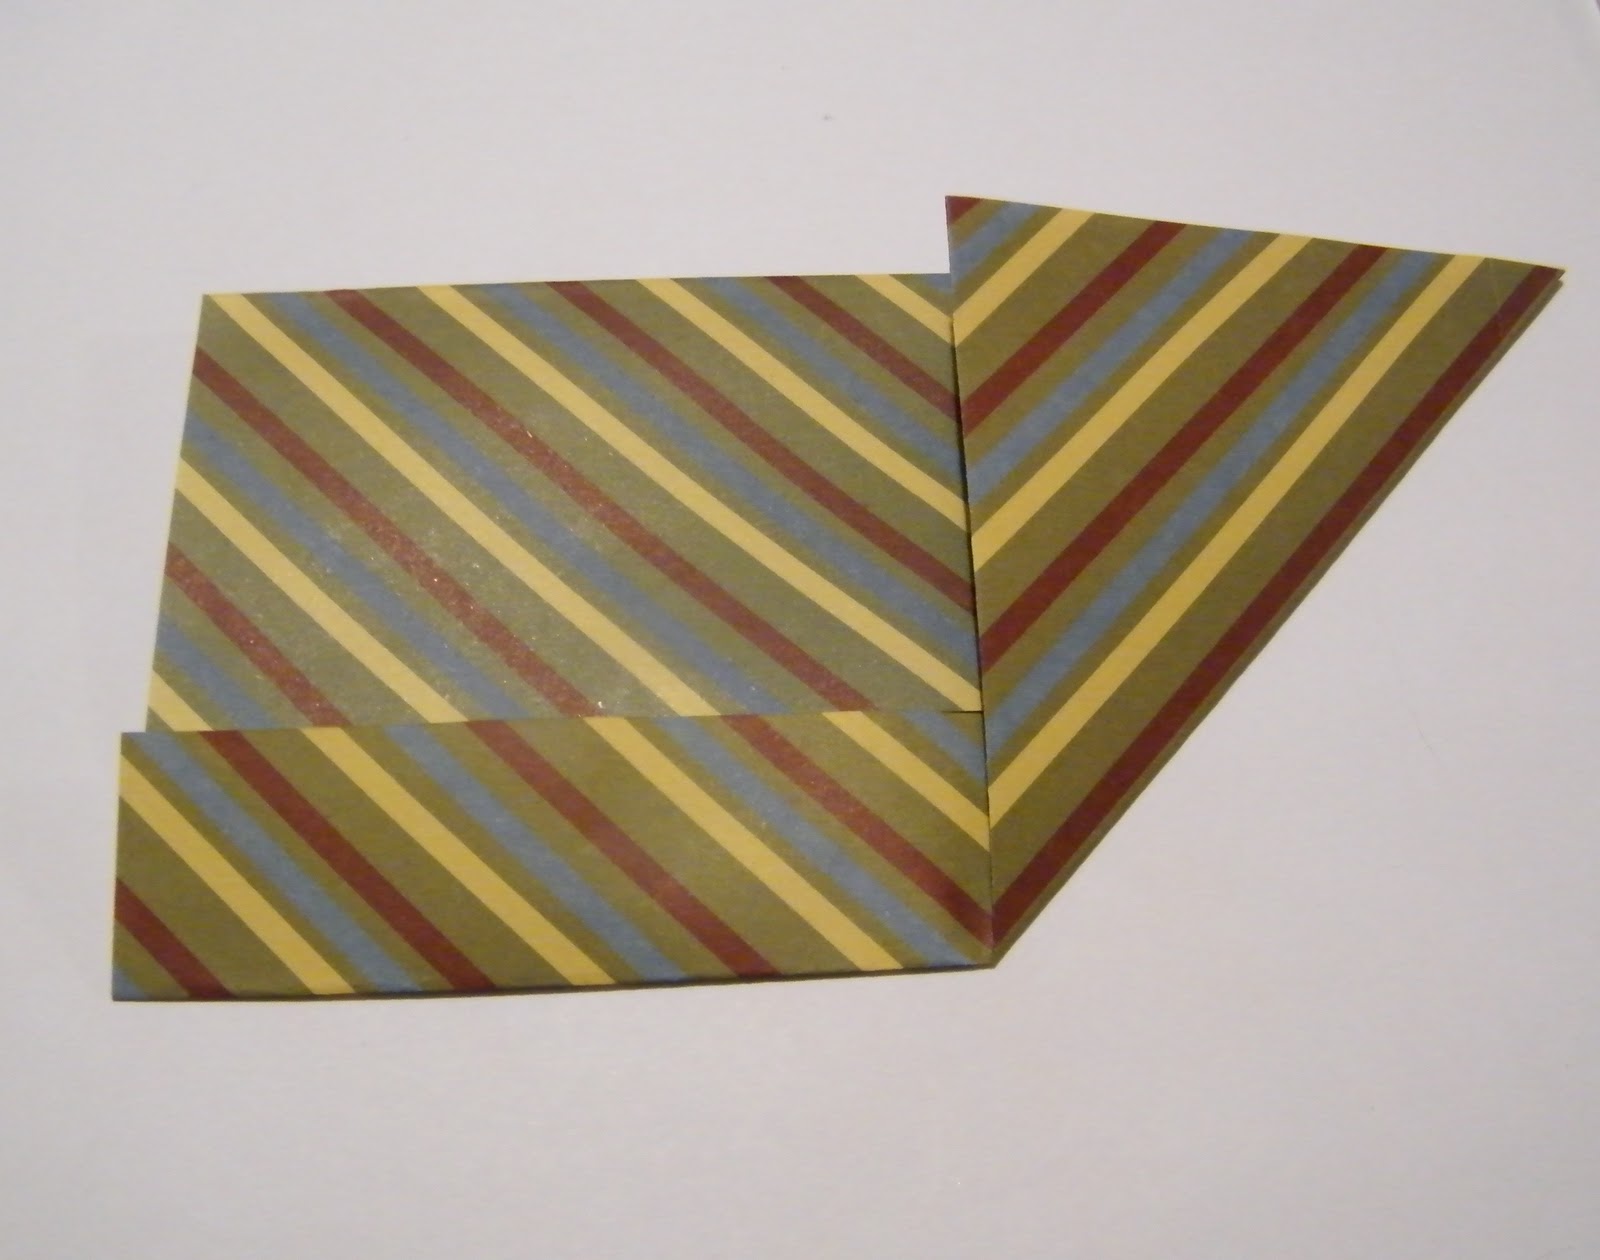
And here is the side of the sleeve:


And now the back:


And now a close up of the back:


After I finished making this I made grilled cheese for lunch, and being in a miniature mood, I made our dog Izzy a mini grilled cheese...she loved it!:

Saturday, February 26, 2011

Day 21

Since I'm still not feeling very well I didn't want to do a craft that involved pulling out all my craft supplies and making a mess that I would then have to clean up, 

I decided on a card, I guess this would be considered an "any occasion" one since it really doesn't have a theme.  I had some left over orange card stock cut in the perfect size so I grabbed that and I have a huge supply of old magazine laying around so I decided on a collage format.  I cut out a page full of color, in various sizes and then glued them on to the front, then I went back through the magazine and cut out words that were positive sounding, and glued them over the mosaic pictures.  Overall I think it looks fun and funky, just like me!  LOL


Monday, February 21, 2011

Day 16

Today I was stumped for ideas.  I looked online, I looked in my books, I looked at all my craft items and I was coming up blank.  As I was looking around the room I found a candy box from Valentine's Day.  I had picked up two mini boxes of chocolates, one for me and one for Stan.  Four little delicious pieces of chocolatey goodness.  Stan loves to save boxes, he just adores them.  So we had these two laying around and I found a use for at least one!

I decided to make a gift box.  I had some Spring themed cardstock, and quilling paper.  I originally was going to make a flower motif on the cover, but I didn't have enough of the yellow quilling paper so decided on this design instead.  In the pictures, you can still see the white of the glue, but it will dry clear. 

The box is tiny, so it will be nice to put some jewelry or some other small trinket in it. 

BEFORE:

TOP AFTER:

SIDE AFTER:

 BOTTOM AFTER:

TOP & INSIDE AFTER:

Sunday, February 20, 2011

Day 15

I am really tired today so I did a very simple craft.  I went to Borders today and since the store is going out of business they are having an "ok" sale.  I picked up some more books for my out of control book collection and decided I needed more bookmarks, of course!  I tend to read more then one book at a time, since I get bored so easily, so tons of bookmarks are helpful.

Today's bookmark was inspired by spring.  Sunflowers are not really spring, but they are my favorite flower so I included it.  We are supposed to get snow tonight so something to bring spring early is nice!

All this bookmark is paper and glue.  The sunflower was a diecut, but the rest I cut from cardstock, didn't really do well with the clouds, but the idea is there.  Now everytime I go to stick this bookmark into a book, I'll feel like I'm in a beautiful field, with the wind lightly blowing the sunflowers, and the clouds slowly going by.  *sigh* 

Tuesday, February 15, 2011

Day 10

The other day I was looking online for card ideas and came across a charity website called Make A Child Smile (http://www.makeachildsmile.org/).  The site lists kids who are have various illnesses, tells their stories and gives you the opportunity to mail them a card, to make them smile.  I thought it was a great idea, so today's craft is a card for one of the kids on the site, a 3 year old named Nathan. 

The outside is a 3D sticker of Cookie Monster (it's fuzzy too!) with some 3D cookies!  Really adorable.  The inside, I wanted to put a joke but the only one I came up with was "Why did the cookie go to the doctor?"  "Because it was feeling crummy!".  It's really the only cookie joke I could find online, but I was sort of hesitant to put it in the card, as it's going to a "sick" child!  But after some thinking, I thought it would be okay, as it's a card about cookies and Cookie Monster!  I really hope I don't offend with the joke, but again, I feel safe sending it.  I did the joke on a little flap, so you have to lift the question to get the answer.  And put cookies around it, with a personal note at the bottom.  I hope it makes him smile. 


Sunday, February 13, 2011

Day 8

Today's craft was tricky!  I chose it because I really thought it was going to be simple and quick.  I have tons of books around the house and most of them I will never pick up again, so I had purchased a book on how to do crafts with old books (lots of irony there, huh?!).  One of the crafts was to make mats using rolled book pages, white glue and bobby pins.  I decided to make a drink coaster. 

The hardest part was rolling the pages!  Tricky little things.  I don't know why I had such a problem with it, I guess maybe the way the book paper was, I'm not sure, but each roll ended up being a bit different size then the last, and they were all supposed to be "uniform".  The book suggested using a "rolling tool, such as a dowel", but all I had was a BBQ skewer, so that's what I used.  It wasn't much help!  After I rolled each page, I used white glue along the edge, held it, got glued to the paper, got unstuck, got glued to the table mat, got unstuck, got restuck to the paper, swore, shook off paper and started on the next roll.  I did this 20 times as per the instructions.  After letting the glue dry, and attaching the rolls side by side with bobby pins, I realized I only needed 14 rolled pages, so I got stuck on paper/mat/paper 6 more times then was neccessary.  I swore again. 

After all that, I was pretty happy with the outcome.  Upon showing Stan, he tried to blow into the ends, saying it looked like a pan flute.  I then showed my mom, who was in a different part of the house and had no idea what Stan said.  She proceeded to try to blow into the ends, saying it looked like a pan flute.  I then showed our dog Izzy, who proceeded to try to eat it.

No one knows good coaster art when they see it!