Showing posts with label bone folder. Show all posts

Wednesday, May 11, 2011

Day 95

I'm reading a really good book on my Kindle called "Bloodroot" by Amy Greene and because of this I needed a quick craft so I could get back to my book!  You readers out there will understand! 

I went with my trusty Origami Stationary book and whipped up a Diamante origami fold which can be used as either an envelope or note.  I decided I'm going to use all the origami stationary that I have done in a journal of some sort, like perhaps glue them or somehow put them in a journal, but write in them, on some of the pages instead of the actual journal.  Just a thought, but I really like the origami have been turning out and I don't want them to go to waste.

Here is the Diamante origami finished:


Here is the paper I used:


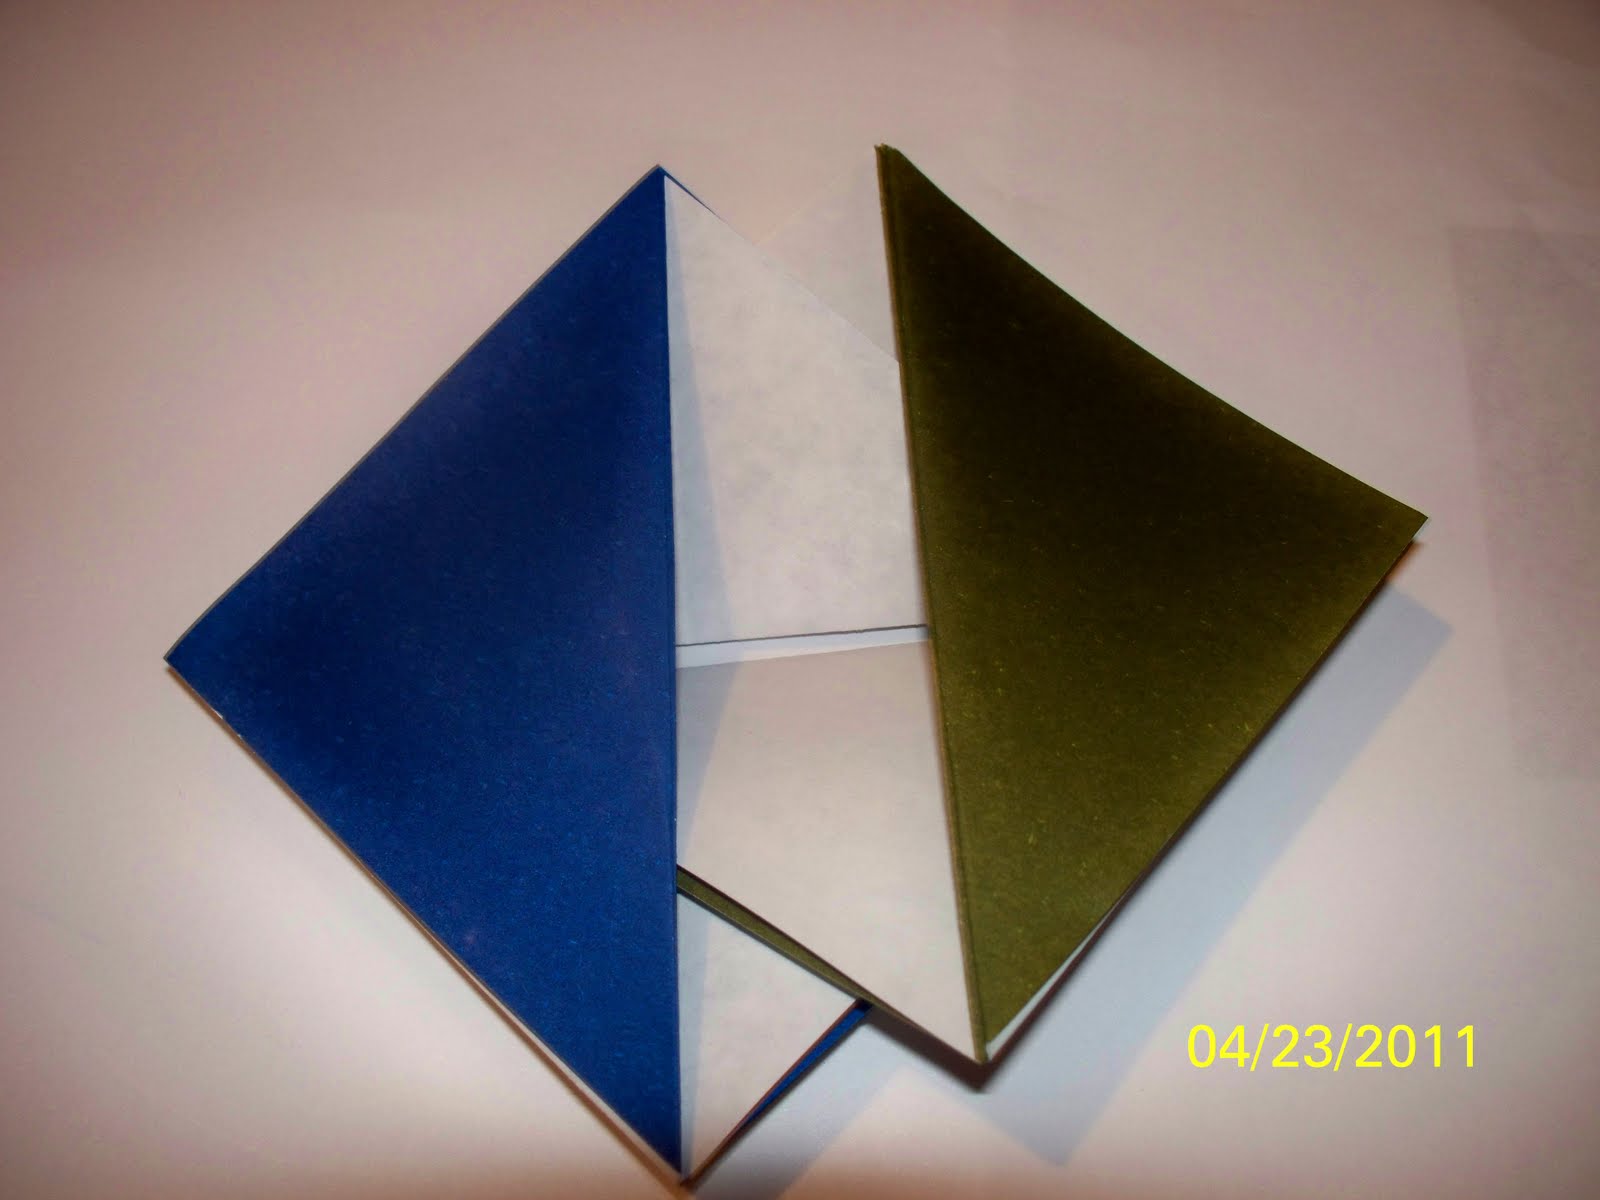
Here is half way through the folding:


And another shot of it all done:


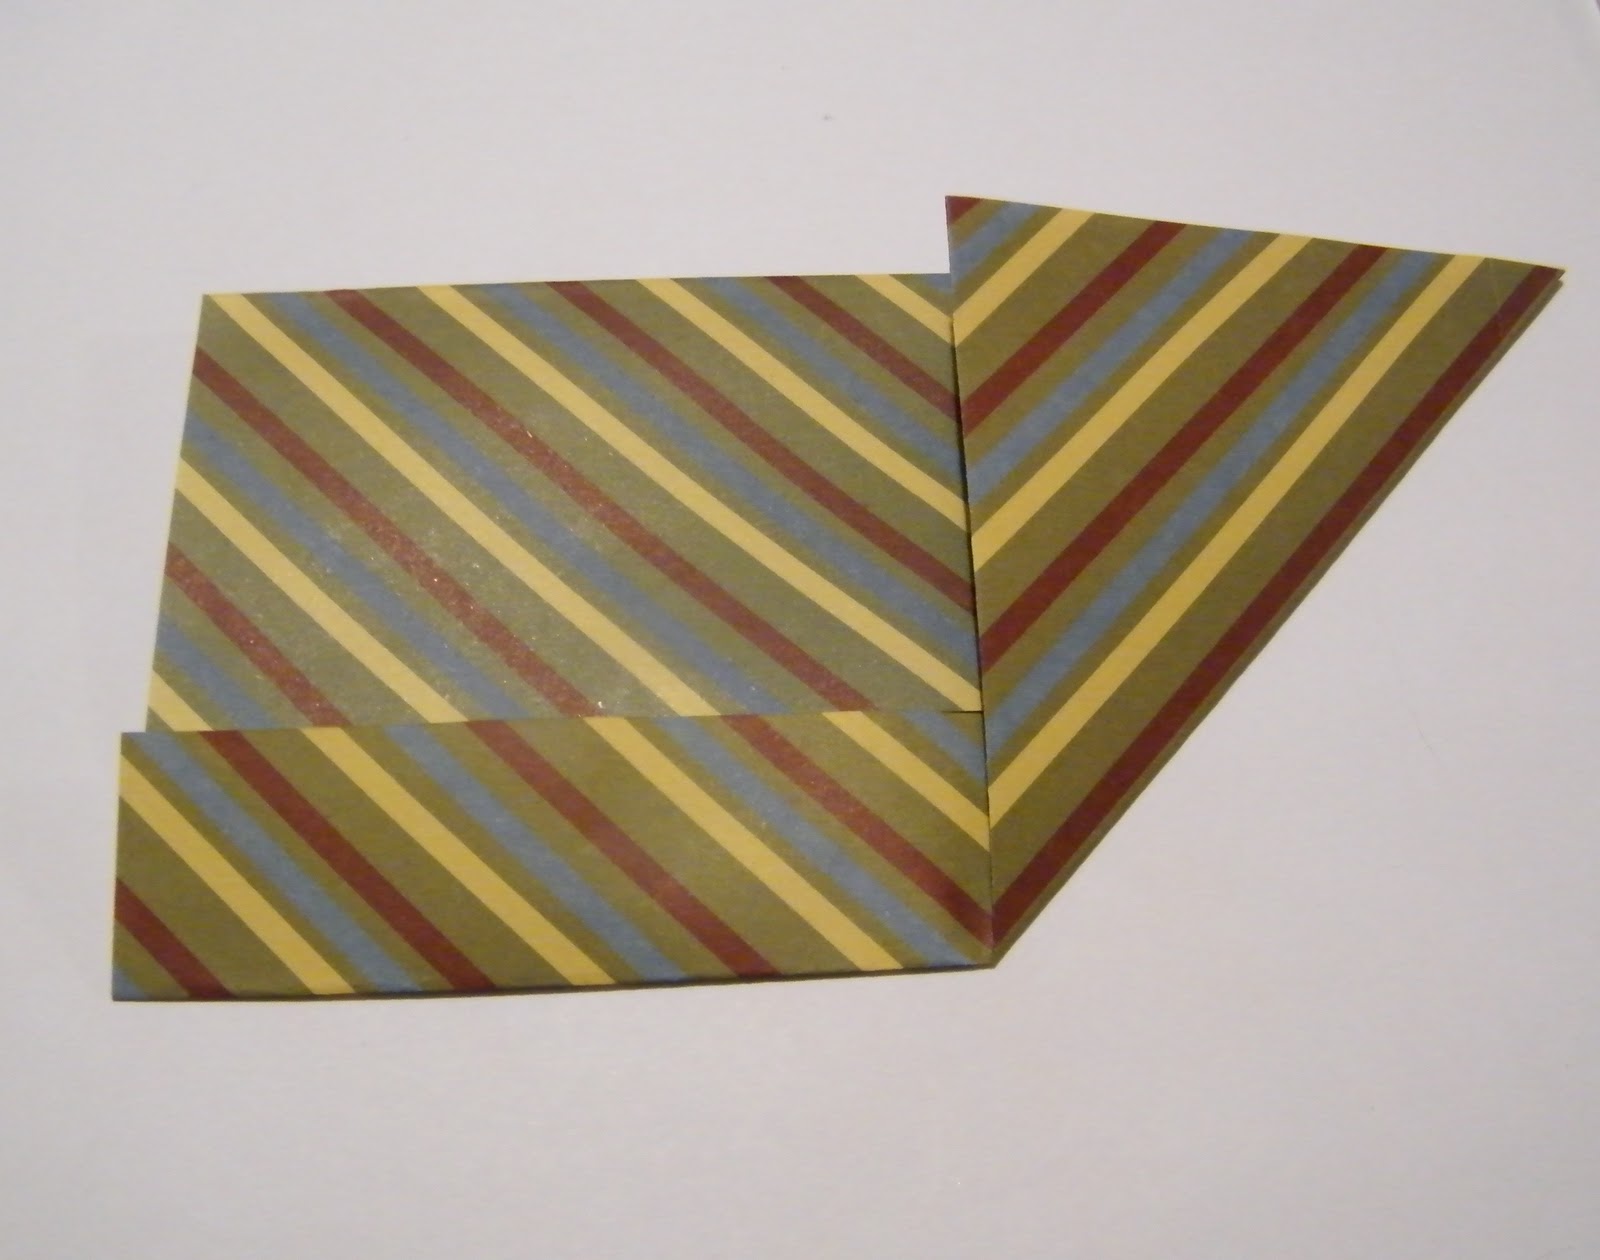
And here is the back, a bit hard to see though:


Thursday, May 5, 2011

Day 89

Since I had stuff to do I decided to do what I thought would be an easy craft.  I pulled out the Kirigami book and chose to do the Bell Net fold.

It went well, until Cody grabbed the finished craft (not before ripping it while I was trying to take pictures of the finished work), he ran down the stairs, only to be attacked by Izzy and well...this is how it ended:

R.I.P Bell Net paper craft....


Before the carnage, I folded the paper and free handed the design for the cutting:


I then cut the lines, being careful not to do all the way to the end:


I gently unfolded it:


I then strung a thread on a piece of scrap paper and used it to pull the center up, to unfold the bell:


And here it is open, and this where Cody decided it was a cat toy:


And ripped it.....sigh....:


Here is an attempt at trying to show it hanging:


Right after the last photo I put it down flat and turned around, with my back turned that's when Cody grabbed the bell and ran down the stairs.  Refer to the first photo for the end of the story.  Ah well they are pretty cute, and I forgive them.  :)

Monday, May 2, 2011

Day 86

After some searching online for some bookmark ideas, I came across an origami bookmark and thought it would be a good way to incorporate the two things I have been enjoying lately, bookmarks and origami! 

I really can never have enough bookmarks, so even though it may seem like overkill, every bookmark I've made to date has found a home snugly in a book, since I tend to read a few books at a time.

This bookmark was made with a piece of origami paper cut down to 3" x 3".  I used the template HERE.

Here is how it looks on the book:


Here is the paper I used, before I started folding, cut down from 6" to 3":


Here is the bookmark folded, all lonely, looking for a home on a nearby book (awwwww!):


Here is the other side of the bookmark, like how it saves me from dog-earring any corners:


Sunday, May 1, 2011

Day 85

I was out all day with mom and just as we were heading home I started feeling a bit queasy, I laid down hoping it would go away but it hasn't so when it came time to do a craft, I really wasn't feeling up to doing something in depth.  Since I enjoy doing origami, and since it's usually a pretty easy craft, I decided to do the "Sailboat Note".  After you do all the folds, the closure, or buckle, is a sailboat.  The other side has a space for an address, or a name, or something else creative that I can't think of at the moment! 

Here is the finished Sailboat Note:


Here is the paper I used:


This is about half way through the folding:


And here is another finished photo:


Here is the other side:

Saturday, April 23, 2011

Day 77

I decided on a simple craft today and revised the Origami Stationery.  I chose a project that actually incorporates two different origami folds.  The finished origami is called a "Pillow Note", but it incorporates another origami called "Ship Mates".

First I folded the Pillow Note, which is pretty simple, just a few folds here and there.  Then I went and folded the two pages that make the Ship Mate origami.  You put the Ship Mate origami inside the Pillow Note, finish folding and the Ship Mate sits inside the Pillow Note, with the edges "fluffy" like a pillow.  It's pretty neat actually...

Here it is finished:


Here is the paper I used for the Pillow Note:


The folds needed to make the finished note:


Here is the paper used for the first half of the Ship Mate note:


Finished folds for the first half of the Ship Mate note:


The paper chose for the second half of the Ship Mate note:


Take the two half's and join them:


Joined and finished Ship Mate note:


Put the Ship Mate inside the Pillow Note and tuck the corners of the Paper Note and tuck them into the folds of the Ship Mate:


All tucked and "fluffy" like a pillow!:

Monday, April 11, 2011

Day 65

I found this cute elephant frame in my Kirigami book and decided to give it a try.  Right around the time to trace the elephant my allergies went crazy and I couldn't stop sneezing, which caused my tracing to be all over the place and I had to redo it.  So please, when you get to the picture of the traced elephant, don't laugh...too hard anyway...

Here is the paper I used.  I went with pink because I always think of pink elephants from the old cartoons (don't worry, I won't bore you with my childhood memories):


After some folding, I traced the elephant...and sneezed a million times....and traced again (please keep the laughing to a minimum):


All cut out:


All unfolded, notice the ears and eyes are also cut out, so cute:


Here is the general look with a picture, not the one I'll use, but just so you get the idea:


And here is Rascal (aka Coo-Coo) loving my arm as I try to type, just because....

Wednesday, April 6, 2011

Day 60

I have this book called "Fabulous Folds For Card Making" and in it is a variation of this card.  Pretty much the same, except the size is a bit different and I used different paper and embellishments then what the book suggested.  This card is good for really any "female" whether friend or family.  It would be good for a birthday, Mother's Day, or just because! 

First I cut down a piece of card stock and drew in an angle about an inch and cut that off:


I took a piece of scrapbook paper and used it for the front of the purse:


After some more cutting and folding, I added a band of yellow card stock on the top fold of the purse with some designs punched out so the purple would show through.  I then added two pink fasteners with some ribbon for the handle:


Here it is all done!:


And inside, tons of room to write lots of lovely things:

Tuesday, April 5, 2011

Day 59

Seems to me that Japanese crafts are the theme lately for me.  I'm not exactly sure why.  I think it has to do that I enjoy paper crafts and Japan culture is known for crazy fun paper folding and cutting. 

Today I tried Kirigami.  Kiri means "cutting" and gami means "paper"...so it's paper cutting, cutting paper into decorative forms.  I did the easiest one I could find and I'm glad I did because it's harder then it looks.  Not to mention my blades and scissors are a bit dull.  I did a "classic snowflake"

First you fold the paper as directed and then trace the design on the paper:


You cut out the design:


And unfold!!  All done, not perfect, but still a very nice snowflake:


Another shot, and the best thing is, I can use this for another craft...maybe put it on a card or in a decoupage project, not sure yet:

Monday, April 4, 2011

Day 58

I had the day from HECK!  Yes!!  HEEECKKK!  ugh  Work just threw me for a loop so when it came time to do my craft I decided to do the Origami Stationery because it's easy and fun. 

Tonight I did the Parallel-O-Gram note and with the design of the paper it had a really cool effect.  I really like the way it came out.

Paper before folding:


About halfway through the folding process:


All done!:


Another after picture: