Showing posts with label glue stick. Show all posts

Wednesday, April 20, 2011

Day 74

I found this site today called Craftbits and they had some adorable craft ideas.  This was one of them.  It's called a "Index Card Note Deck".  I did it a tiny bit different then the directions, but not too far off.

I used a stack of index cards I had on hand, my label punch, a piece of decorated scrap book paper, two pieces of card stock, some ribbon, hole punch and a glue stick.  I punched out a handful of labels from the index cards, one from the scrap book paper and one each from the card stock colors.  I glued the scrap book paper to one of the regular labels to get the cover and used the others as dividers and the back cover.  After everything was cut, glued and hole punched I strung them onto the ribbon and knotted the top.  It came out really good, and will be used for all types of notes in the future!

Here is the Index Card Note Deck all done!


Here are some of the supplies I used, though I ended up not using this ribbon:


Here are the index cards, card stock and scrap book paper cut out in the label shape:


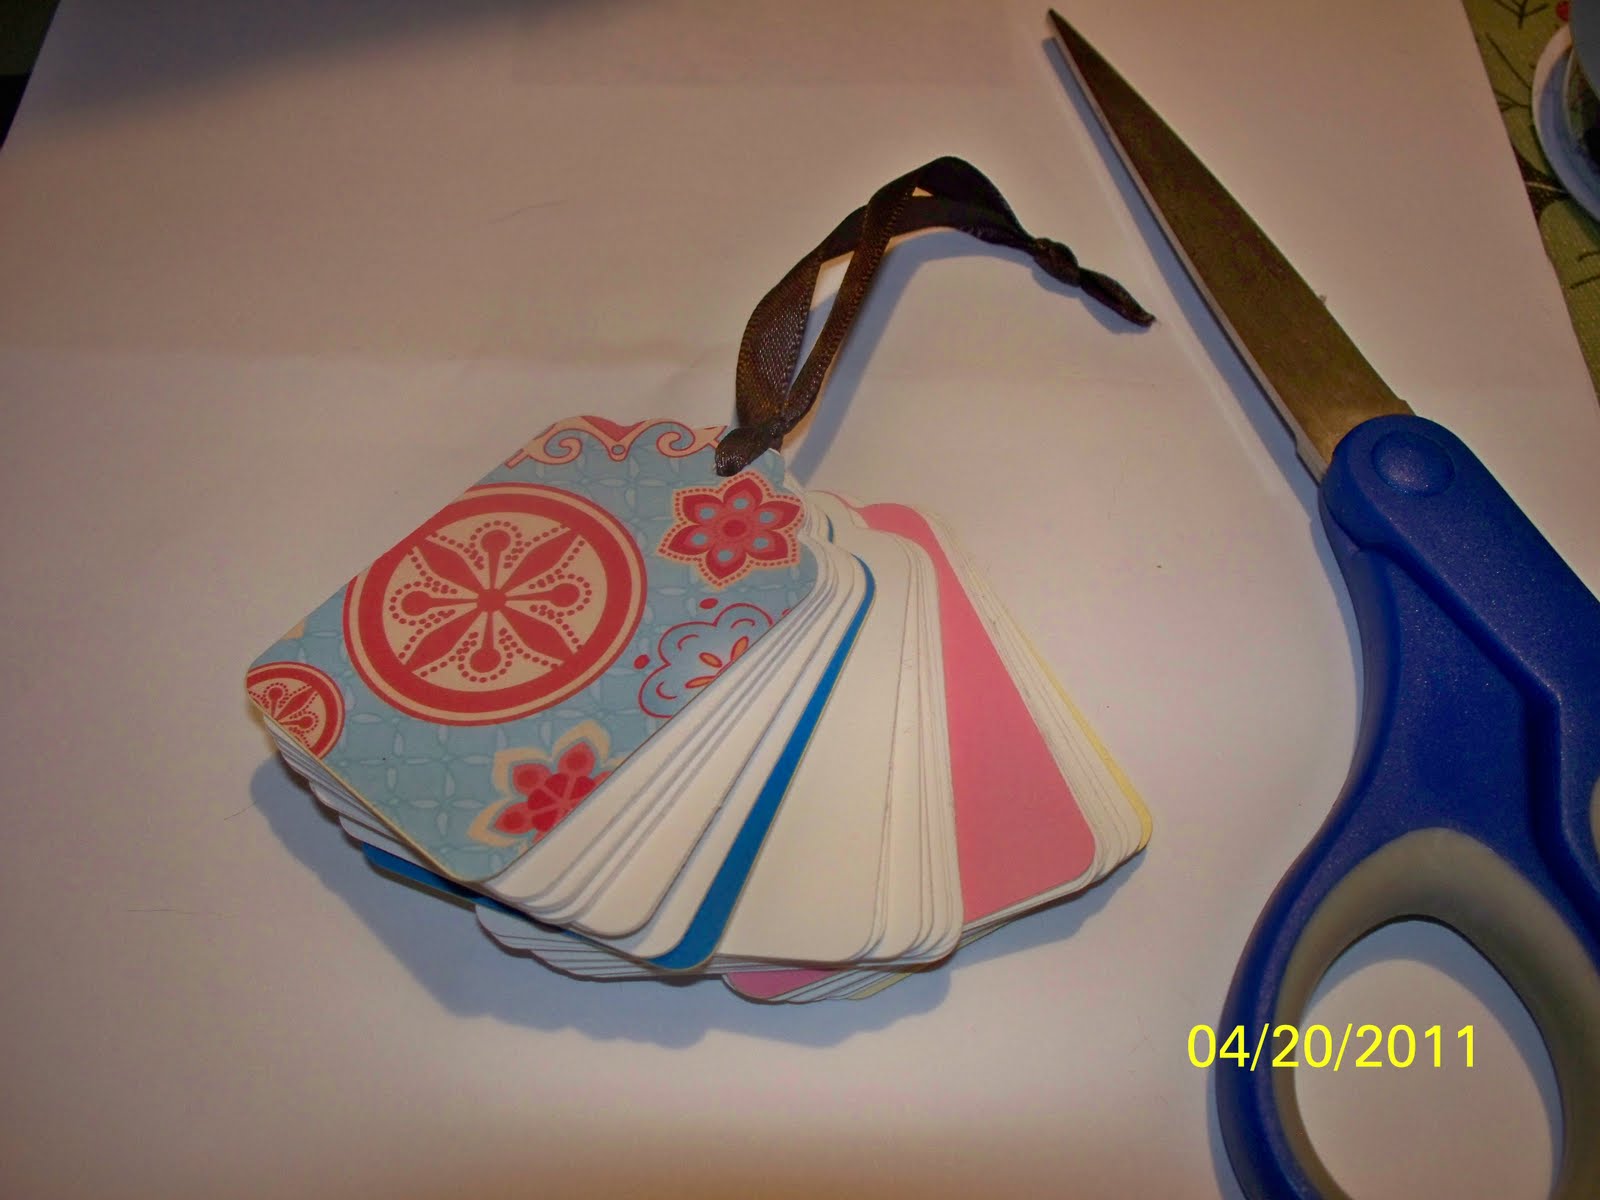
Another shot of the finished note deck, next to scissors so you can gauge the size:

Sunday, April 10, 2011

Day 64

I needed something simple today and I came up with this bookmark in seconds and it took about 5 minutes (if that) to make!

First I picked out some card stock , this one has glitter hearts with paw prints.  I used my label die cut and cut out two label shapes:


I flipped one over and cut a "V" shape, this is the tongue that will go over the book page to hold my place.  I then used a glue stick to stick the two labels together.


 Here is the bookmark in a book, holding my spot!:


And here is the other side of the bookmark:


And here is the book closed, it peeks out and doesn't get in the way!:

Wednesday, April 6, 2011

Day 60

I have this book called "Fabulous Folds For Card Making" and in it is a variation of this card.  Pretty much the same, except the size is a bit different and I used different paper and embellishments then what the book suggested.  This card is good for really any "female" whether friend or family.  It would be good for a birthday, Mother's Day, or just because! 

First I cut down a piece of card stock and drew in an angle about an inch and cut that off:


I took a piece of scrapbook paper and used it for the front of the purse:


After some more cutting and folding, I added a band of yellow card stock on the top fold of the purse with some designs punched out so the purple would show through.  I then added two pink fasteners with some ribbon for the handle:


Here it is all done!:


And inside, tons of room to write lots of lovely things:

Saturday, April 2, 2011

Day 56

After a super busy day I really didn't feel like doing an in depth craft, and plus Stan and I are watching our scary ghost shows, so I didn't want to interfere too much with our time to hang out together.  I decided on a bookmark and was actually going to do a flower theme, but I came across my star paper punch and decided to use it.  I took one piece of yellow card stock and one piece of green card stock.  I cut them in 2" strips and used the star punch to punch out the stars in various patterns.  I made sure not to overlap, so they stars don't match up on each paper.  I used a glue stick to join the two sheets of paper together at the top and bottom.  I then decided to take the stars that were punched out and layer them on each side.  On the green side I took a yellow star, put a green star on top uneven and glued it down.  I did five on each side.  I then laminated the whole bookmark in contact paper.  The pictures don't do a good job of showing the finished bookmark, because of the glare, but it really looks cute!

Here is the green side:


And here is the yellow:


Close up of the yellow side, and you can see the overlapped stars:


And close up of the green side, with the overlapped stars:

Tuesday, March 22, 2011

Day 45

When I got home from work tonight one of the first things Stan said was "I have a craft you can do tonight!".  And my first thought was "YAY!!!" because I wasn't too sure what I was going to do!  

His computer came with a bunch of craft software and he was checking it out today.  There was a template for a photo cube, you just add your pictures, print it out, cut it, score the folding lines, fold and glue!  That's it!  It was easy and fun and now I have an adorable photo cube of the 6 loves of my life to adorn my desk at work!!!

Printed on card stock:


All cut out and ready to be scored, folded and glued:


Folded, a little flimsy looking but it's holding up well:


Top view:


Another side view:

Saturday, March 19, 2011

Day 42

I'm a bit bummed today so I did today's craft with the hopes that it would be 1. easy and 2. cheer me up.  Succeeded at both!

I think it's well known that I love fairies so I went with the woodland fairy theme.  I was going to do a greeting card but it turned into a collage picture that I can hang up and smile at when needed.  All I did was cut out designs that were on scrapbook paper.  The flowers and the butterfly were each on their own page and the fairy I had from a collage sheet. The 3D yellow sticker reminded me of a sun so threw that on too.  Just cut and pasted accordingly and got this...


Friday, March 18, 2011

Day 41

A while back I saw a craft in one of my books for a charm similar to this one.  It's pretty versatile.  You can make so many different designs, so I chose to do one that is like a little secret.  Every time I look at it,open it and check it out, I'll think of Stan.  Some days I just need a smile, and opening this will trigger one in no time.

I used a "Memory Frame", card stock, letter stamps, yellow ink, waterslide transfers, stickers, glue stick and Mod Podge decoupage.  I cut out a long piece of card stock, put two waterslide transfer pages on pink card stock using decoupage and then used the glue stick to stick them onto the black card stock.  I then used stickers and then letter stamps with yellow ink to spell out our names.  It came out quite cute.  I need to pick up the glass for the Memory Frame though because the little book keeps popping out of the frame, but other then that, it's adorable.

The Memory Frame and black card stock:


Front side unfolded:


The back side unfolded:


Front folded and tucked away:


Back side folded and tucked away:

Saturday, March 12, 2011

Day 35

I'm not sure what's going on, but I'm having a case of "crafter's block" or something.  I couldn't really decide on what to do tonight so I went with another bookmark.  My idea was a woodland theme with a fairy hiding, or partially coming out.  I didn't really get the look I was going for.

I used a leaf stamp, a fairy stamp, and a dragonfly punch.  It's cute, but not what I wanted overall.  What do you think?

Woodland Fairy Bookmark:

Monday, March 7, 2011

Day 30

I have an issue of sorts with today's craft.  It's a card, but it's a card for someone who might see it on this blog and I don't want to ruin the surprise.  What I'm going to do is show a teaser, and once they receive it, which will be in a few days, I will update this post with the "real" pictures.  Sorry to be all secretive, but I don't want to ruin the surprise!

I must say though, my card skills are getting better!!

UPDATE 3/13/11 - Beth got her baby shower card so I can show it here now!!!  CONGRATULATIONS BETH!!!

Saturday, February 26, 2011

Day 21

Since I'm still not feeling very well I didn't want to do a craft that involved pulling out all my craft supplies and making a mess that I would then have to clean up, 

I decided on a card, I guess this would be considered an "any occasion" one since it really doesn't have a theme.  I had some left over orange card stock cut in the perfect size so I grabbed that and I have a huge supply of old magazine laying around so I decided on a collage format.  I cut out a page full of color, in various sizes and then glued them on to the front, then I went back through the magazine and cut out words that were positive sounding, and glued them over the mosaic pictures.  Overall I think it looks fun and funky, just like me!  LOL