Showing posts with label cardboard. Show all posts

Friday, April 22, 2011

Day 76

I have been thinking a lot lately about the goals I have, the things I want to accomplish and I decided to make a "dream board" or an "inspiration board" to keep me grounded and to remind me what I want to accomplish.

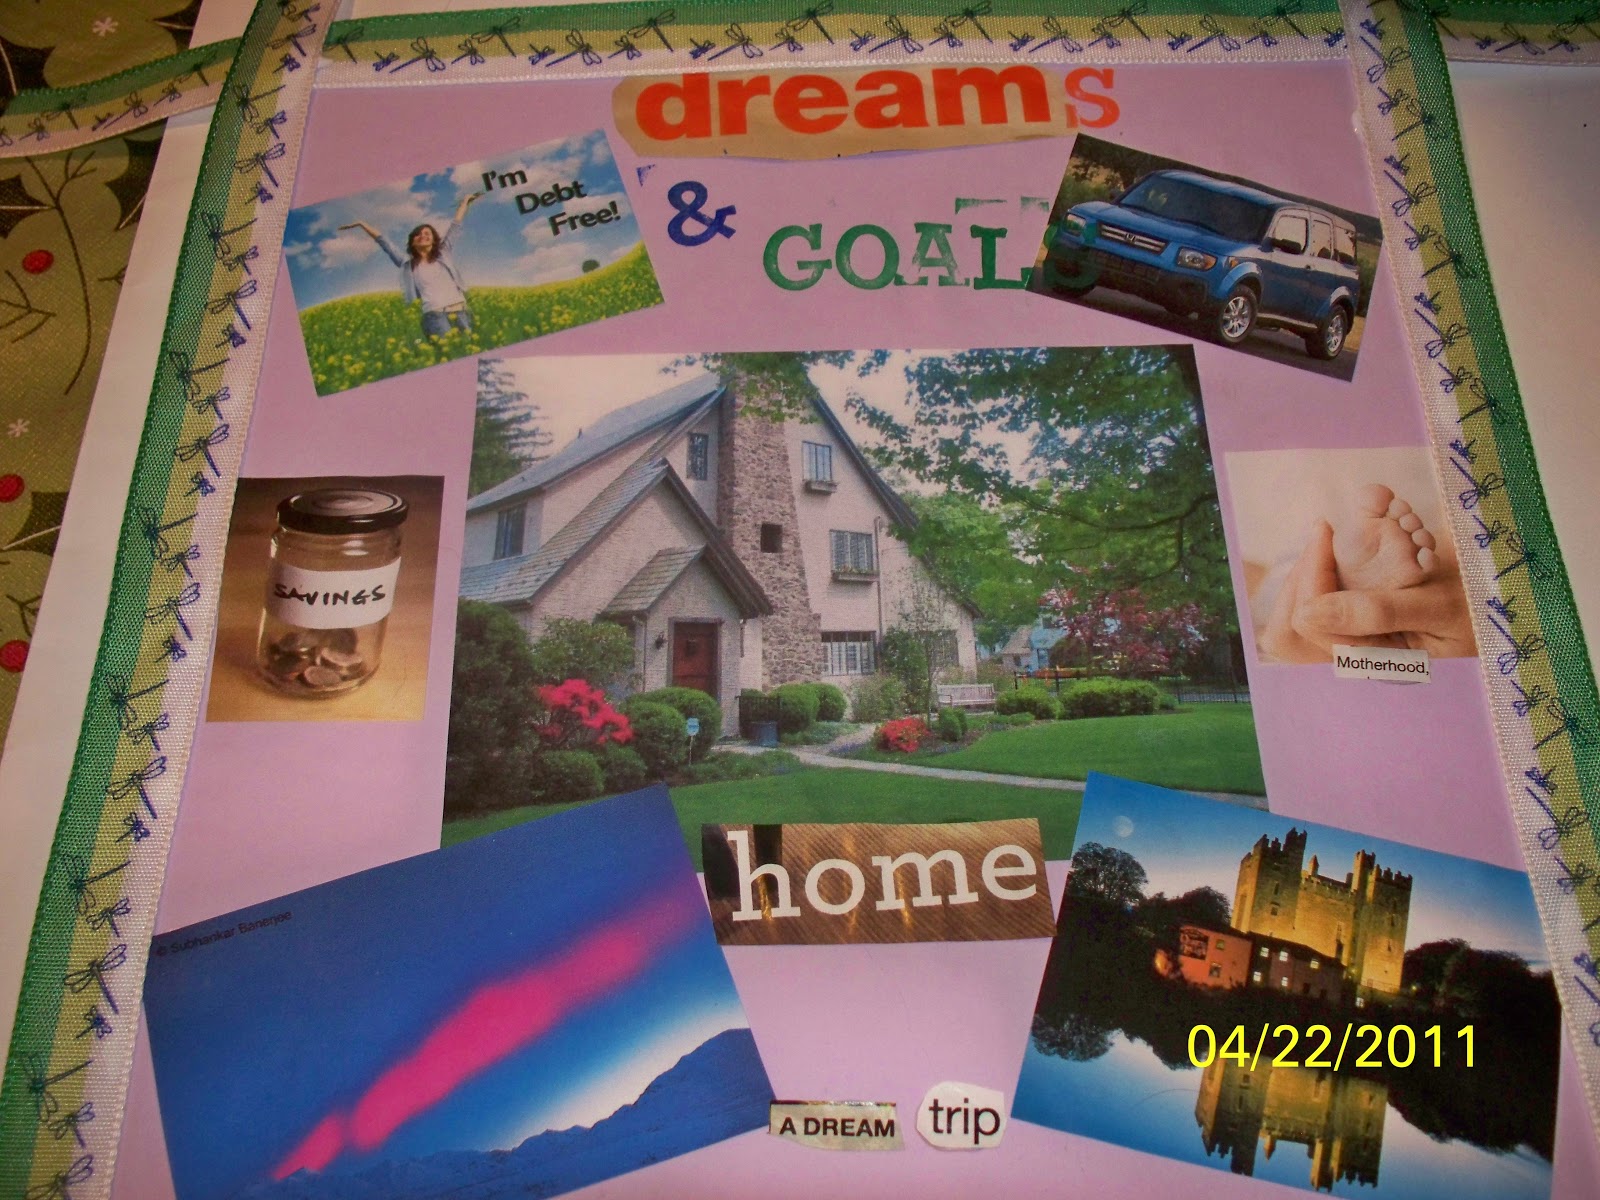
I had a piece of cardboard at work that was approximately 9" x 9" and decided that was a good size to do the board.  I went online and found photos of things that represent the dreams or goals that I have.  They are: a Tudor style home (my dream home), a Honda Element (my dream car), a woman celebrating getting out of debt (my goal), a jar of "savings" (my goal, to save money),  a baby's foot (my dream to have children), a photo of
aurora borealis/northern lights over Alaska (one of my dream trips) and a castle in Ireland (my other dream trip).  I printed and cut these pictures out and arranged them how I wanted.  I went back and glued a light purple card stock over the cardboard, then glued the pictures on the card stock.  I then went through a few magazines to find some wording and glued those on.  For the words I couldn't find in the magazine I used my rubber stamp letters.  Lastly, I trimmed the cardboard frame in dragonfly ribbon to just give it a more finished look.  Once the glue dries, I'll trim the ribbon on the edges and hang it up where I can be reminded of what my goals and dreams are in case I forget!

Board all finished:


Here is the cardboard and pictures cut out, getting ready to arrange it all:


Glued the purple card stock on the cardboard:


After everything was glued, another finished photo:

Tuesday, April 12, 2011

Day 66

This is one of those crafts that looked much better in my head then it did after it was completed.  I got the idea while looking online one day.  The original craft was a recycled journal with a cover made from a cereal box, which I loved, but the problem is we don't eat cereal...well we do, but not the sugar filled delicious kind with the pretty boxes, so I had to use a plain piece of cardboard that I got from work.  Because it was plain, I had to decorate it and that's where it went really down hill.  I used clippings from Vogue and yellow acrylic paint.  Just not what I had in mind.  I'll let you be the judge.

Before, the paper, cardboard and string I used to make the journal:


Here is the journal all bound, sorry for the poor picture quality:


And the inside of the first page:


And here is the outside all collaged and painted, not too happy with it though:

Thursday, March 3, 2011

Day 26

Tonight I was flipping through my trusty "The Big-Ass Book of Crafts" and I found this craft.  I wanted to do a bunch, but I got side tracked by American Idol, I admit it!  So I did one of my muse, my love, my pookie bear...Stan!  Awwww...

This is my 3D Stan.  For when the "real" one isn't around.  Of course he isn't much of a talker, but hey, he's a great listener.

I took a picture of Stan from his brothers wedding, I cut him out of the background.  I then took a piece of cardboard, scored it with a craft knife on one end, folding about a quarter of an inch up.  I then smeared elmer's glue all over the fold and stuck Stan to it.  (The picture Stan, not the real one.)  It was that simple!!  YAY for simple!!

Before picture - (a picture of a picture):


All cut out and pasted - 3D Stan (and a Cody paw, he's so nosy...Cody, not Stan):


And another picture of the finished Stan and another Cody paw:


Here is what the back looks like, in case you were dying to know:

Monday, February 14, 2011

Day 9

I could not for the life of me figure out what to do today, so I enlisted Stan's help.  He suggested a frame, and I have had this picture of our cat Rascal (aka "Coo Coo") sitting next to my alarm clock for a while frameless, so this was a great opportunity to get him looking even cuter!  

I had an empty cardboard box that I cut down to about an inch bigger then the picture on all four sides.  I glued the picture to the cardboard, used acrylic paint around the edges in blue, stuck the various stickers on it and added the brads in the "I love my cat" banner.  On the back I stuck an extra piece of cardboard in a triangle to hold the frame up.  Overall an elementary but totally adorable frame.  It's super cute, but that might just be the picture!!  Below are some not so good pictures of the frame, the lighting is really bad.  Also, there is a picture of Izzy trying to help get a good shot.  Obviously it didn't help.  :)